
How to Use Transparent WebP Cutouts in Canva Without Lag
 By Pics PNG
•
Jun 15, 2026
By Pics PNG
•
Jun 15, 2026

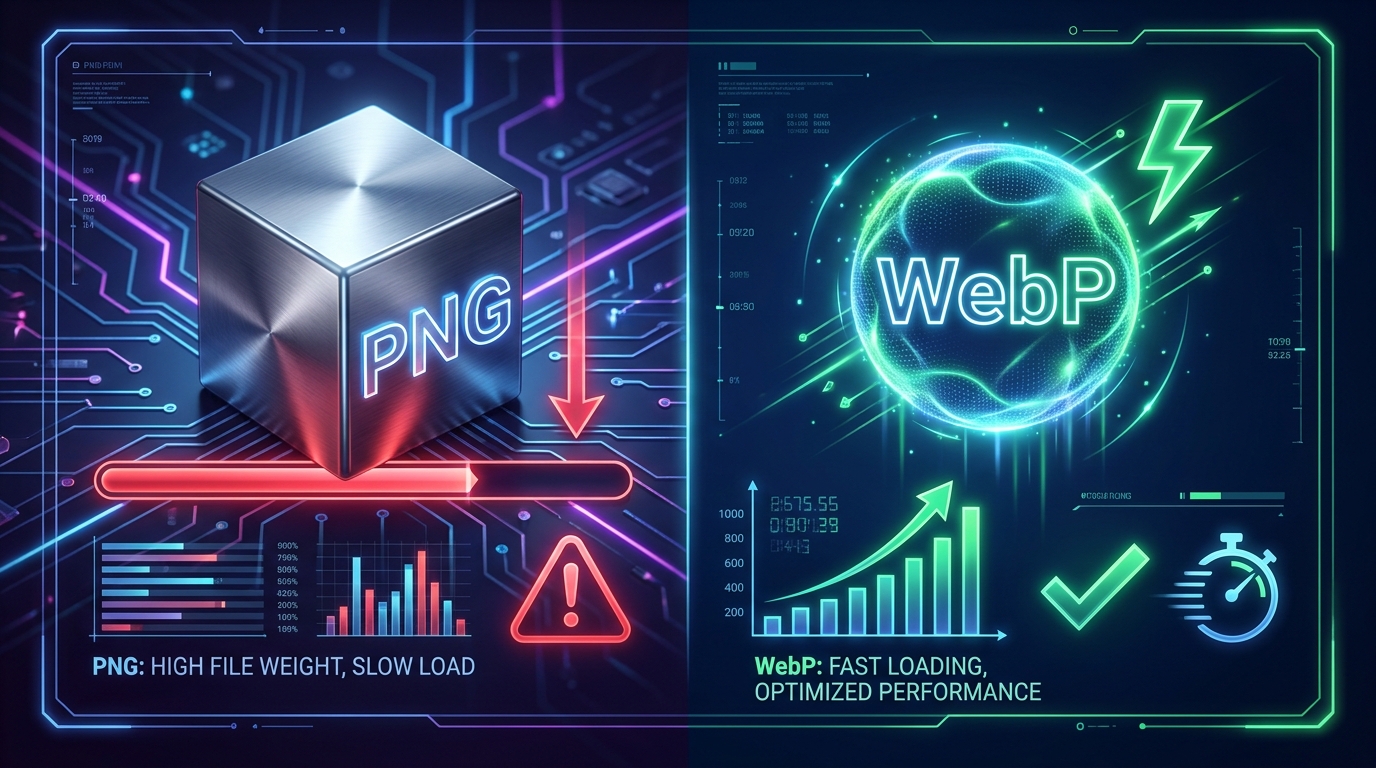
The Performance Trap: Why Large PNGs Slow Down Canva
If you have ever built a complex template, slide deck, or social media graphic in Canva, you have probably experienced canvas lag. Your elements stutter when dragged, text typing delays, and exporting takes forever—or fails with a browser timeout. The culprit is almost always the file size of your raw transparent PNG assets.
Traditional high-resolution transparent PNG cutouts are heavy. Because they store lossless pixel arrays alongside full alpha channels (transparency data), a single floral cutout or neon overlay can easily exceed 8MB. When you load 10 of these into a single Canva project, your browser memory gets exhausted. This guide will show you how to preserve transparency and clean borders while keeping your canvas fast by utilizing compressed WebP files.
What is WebP and Why is It Perfect for Canva?
WebP is a modern image format developed by Google specifically for web performance. It supports both lossy and lossless compression, and critically, it supports alpha-channel transparency. WebP offers a 25% to 35% reduction in file size compared to standard PNGs without losing visual quality. To learn more about the technical differences, check out our guide on WebP vs PNG performance.
Because Canva runs entirely inside your web browser (or as a web-wrapper desktop app), it is subject to the browser’s memory allocation. Importing WebP files from PicsPNG instead of standard PNGs ensures that Canva loads your assets instantly and keeps your interface working smoothly.
Step-by-Step: Importing and Using WebP Files in Canva
- Search and Choose: Search for your design assets on PicsPNG. Browse our PNG Categories directory to find elements like Gold Frames or Neon Glow assets to test out.
- Download as WebP: PicsPNG automatically compresses and converts downloads into WebP format on the fly, saving transparency and anti-aliasing edges.
- Upload to Canva: Open your Canva project, click the Uploads tab on the left sidebar, and drag your downloaded WebP file directly into the uploads pane. Refer to the Canva official upload guidelines if you encounter issues.
- Design Without Lag: Place the WebP element onto your canvas. You will notice that it renders instantly and handles drag-and-scale actions with zero lag, even on complex multi-page slide decks.
Best Practices for Complex Canva Layouts
- Group Assets Before Export: Grouping related WebP layers together keeps your layout pane organized.
- Use the Search Filters: Filter your searches on PicsPNG to get elements with transparent backgrounds that are pre-cropped close to the edge to avoid massive invisible boxes on Canva.
- Limit Raw Vectors: When vector shapes aren’t necessary, transparent WebPs are much easier on your system RAM than rendering thousands of vector nodes.
Suggested Articles
Boost your design skills with our related guides and resources.

Ditch the green screens. Learn how to import lossless transparent WebP/PNG design overlays directly into CapCut and Premiere Pro timelines with clean anti-aliasing edges.
Large transparent PNG files damage your PageSpeed LCP score. Learn how serving modern WebPs with alpha channels preserves transparency while cutting file sizes by 30%.
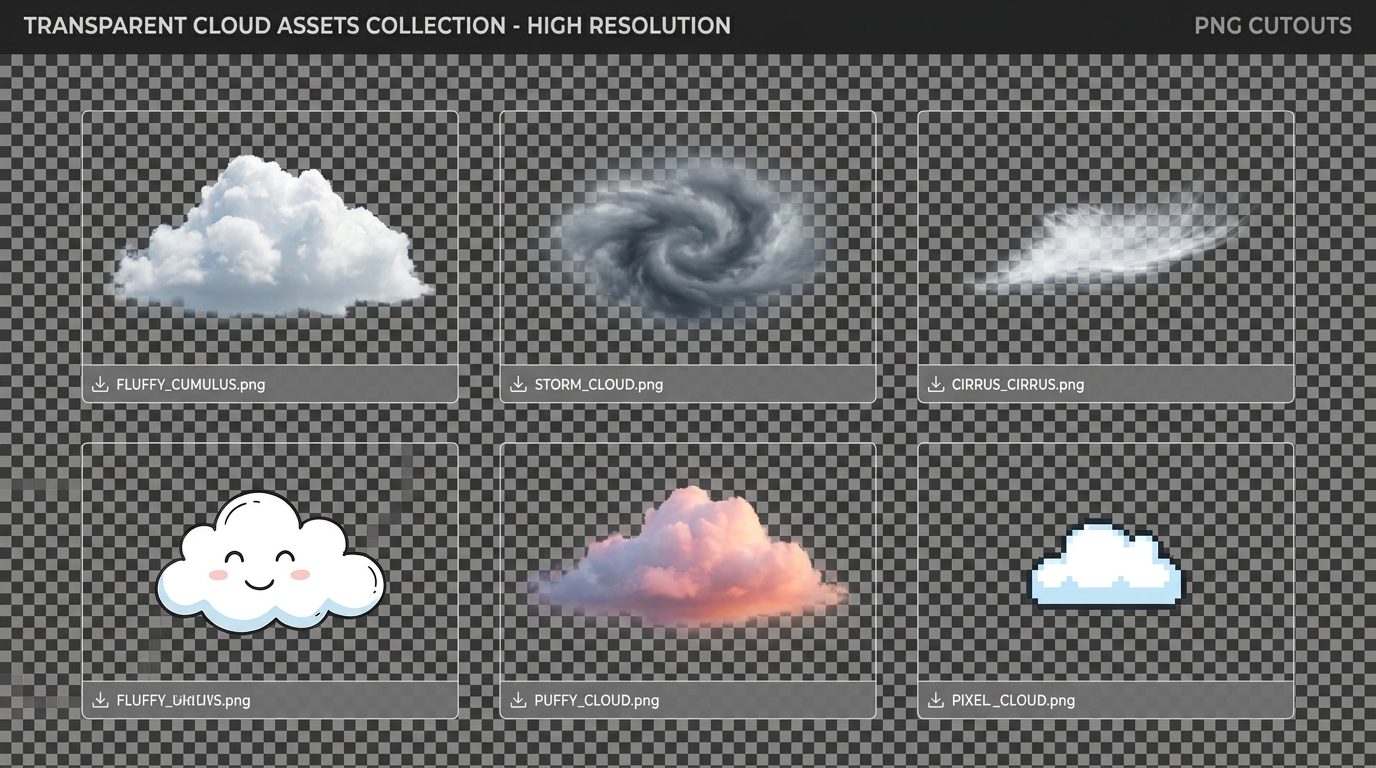
Discover how to use transparent cloud PNG overlays to replace skies, build digital art composites, and design creative graphic layouts.
Comments (0)
You must be logged in to leave a comment.
Sign In